In this RecordCast review, we will discuss its features, pricing, working, etc. So that you can easily analyse if the tool is a perfect fit for you or not.
If you are carrying out many projects, you may need to capture a recording video of your computer screen to show the details to the public. This can be very useful for explaining a particular process, exposing it, or perhaps sharing or saving it for the future.
However, when doing so, the truth is that many of the tools are marketed with high prices and very limited features, not to mention what it means to have to download and install the software beforehand. And, this is exactly where RecordCast comes for, a free online tool that will allow you to do a screen recording in detail and without installing anything.
What is RecordCast? – RecordCast Review
As we mentioned, RecordCast is a web tool that helps you get out of a lot of trouble when making a screen recording. You can run it with a wide variety of browsers, although the most common is to make a recording on Google Chrome.
How Does RecordCast Work on a Browser? – RecordCast Review
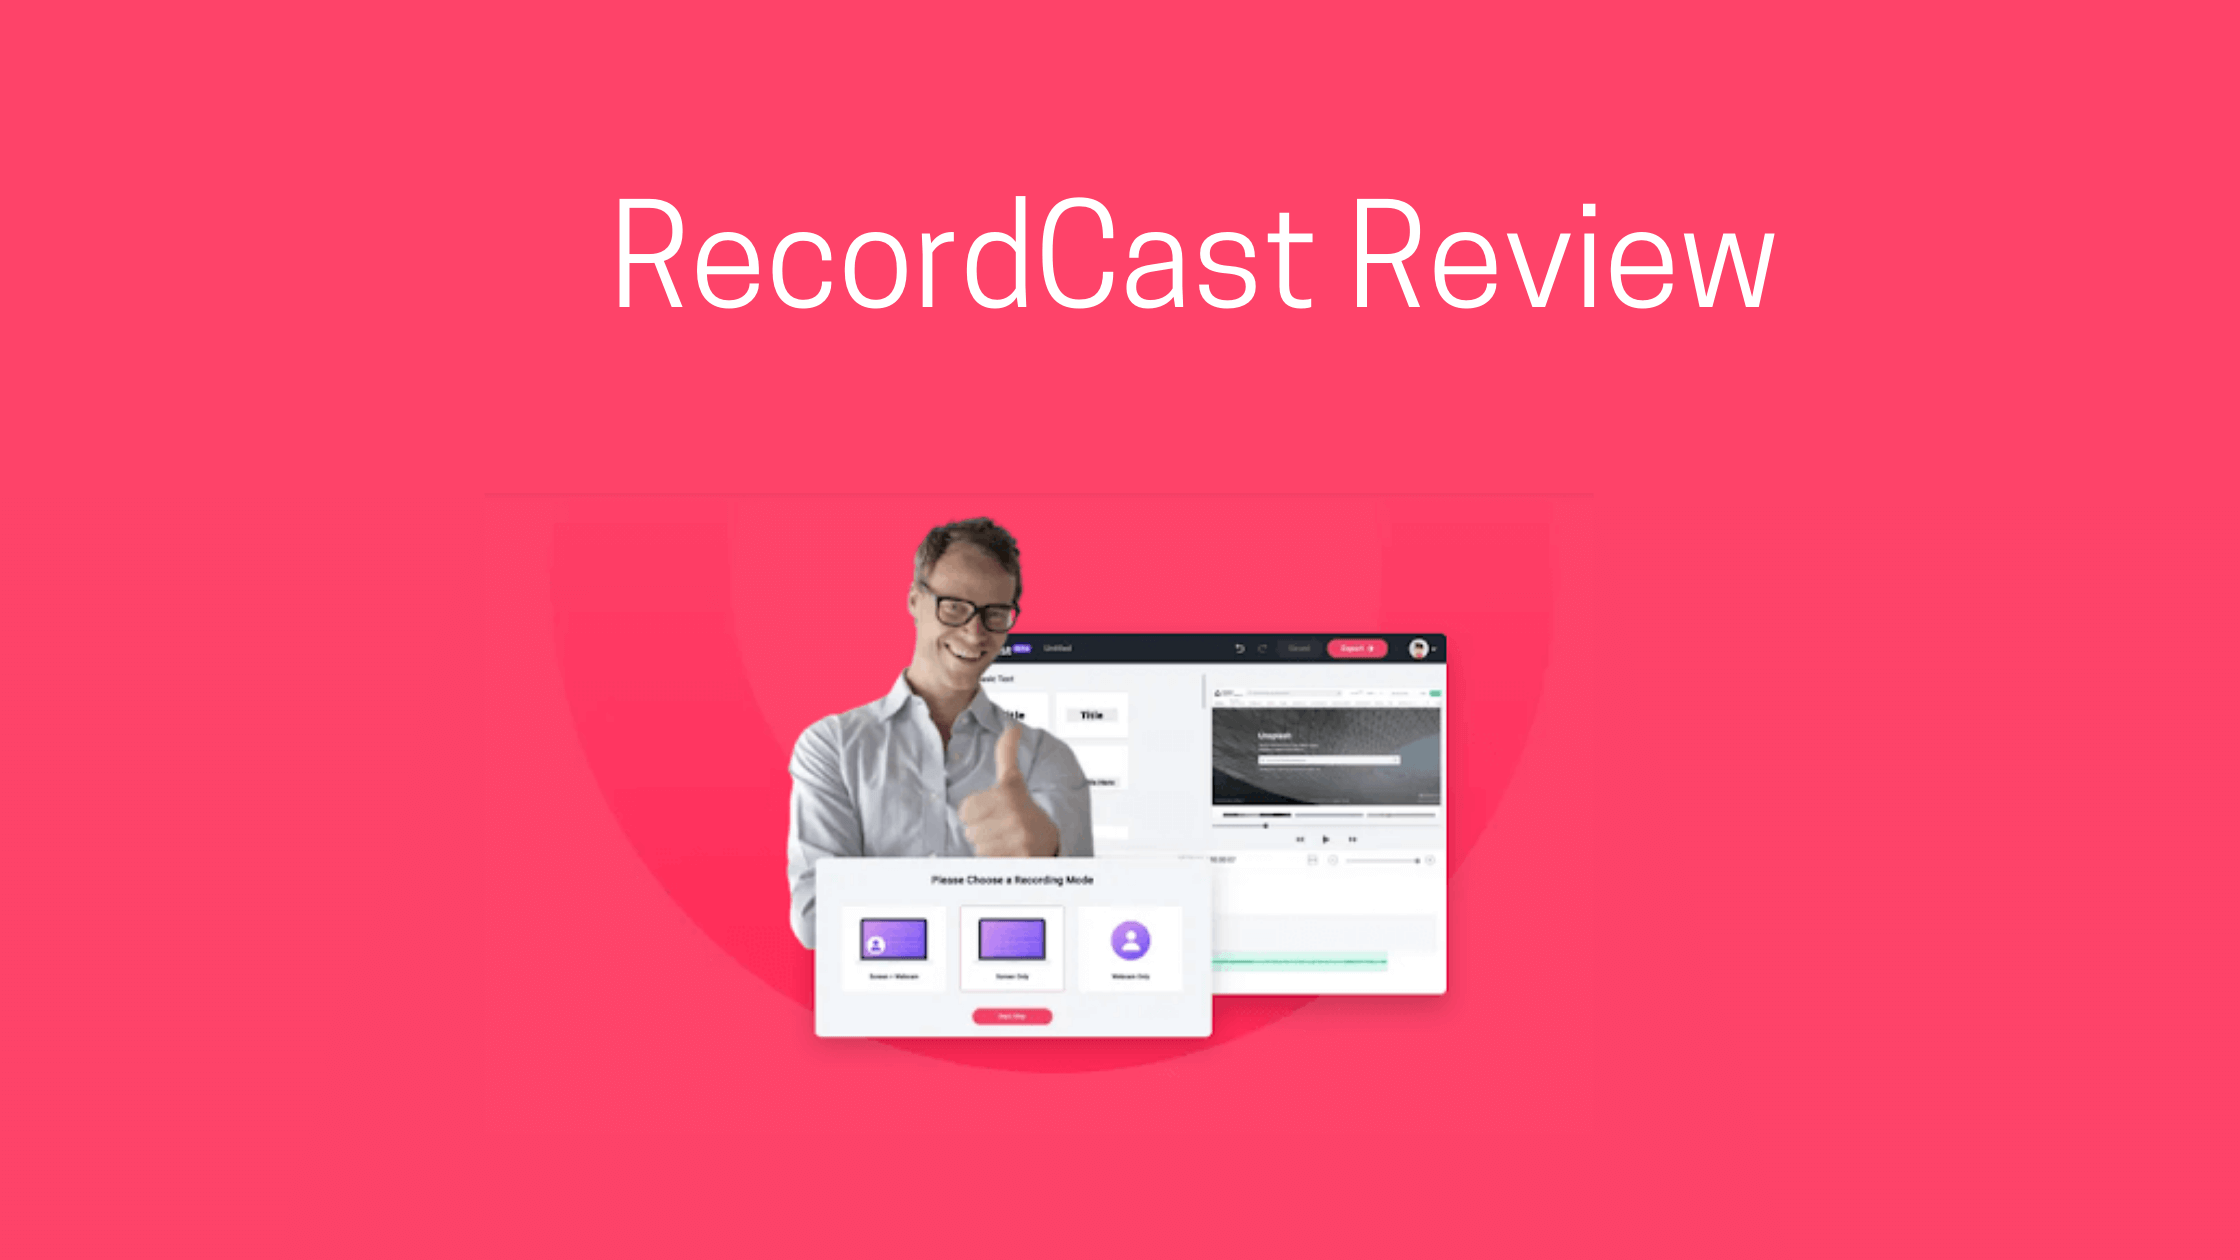
So you only need to go to the RecordCast website and to get started. You just have to choose the red button called “Record Free Now”. To use this tool, you need to do first choose the recording mode you want to use, as there are currently three available:
- Pick “Screen + Webcam” if you are going to record your computer screen and also record through your computer camera. It will then appear on the screen recording in one of the corners.
- Select “Screen Only” in case you just want to record your computer screen. Remember that you can use the microphone in the audio to make your voice heard if you want.
- Choose the “Webcam Only” choice if, for some reason, you are not interested in recording your computer screen and just want to make a normal video recording using your computer camera.

Once you have chosen one of the three options, you must select the audio settings. And if you select one of the choices that combine the use of the webcam, you need also give the browser permission to access it.
- Microphone + system audio: It will be able to capture the audio and sounds of the operating system and use the microphone so you can record your voice while speaking at the same time.
- Microphone: Only record your voice through the computer microphone, suppressing all sounds in the system.
- System audio: Record only the sounds and audio of the computer and operating system without the microphone sounds.
- No audio: Disable all audio and capture your video without any sound.
In addition, by choosing the “Show more” option, you can set up a few more details, like the microphone to use if you have more than one connected to your computer. Not all the options will appear. It depends on the audio option you have chosen. As with some, it is not possible to make the settings.
However, as soon as you are ready, you should click the “Start Recording” button to start recording. To record the screen’s content in your browser, you must perform the actions indicated in the RecordCast tool, as the steps vary slightly between web browsers. Broadly speaking, you will have to do this choose the area of the screen you want to share and grant the browser permissions to do so.
The free version only allows you to record 5 minutes videos. However, it’s enough for solving a lot of problems for us. To finish, just go back to the tab of your browser where you have RecordCast open and click the stop button. In seconds, you can choose the Download and Edit button to get the recording in .webm format or access the video editor displayed if you want to make any changes or get the .mp4 video.
That’s it! I hope you find this RecordCast review helpful. Do share your experience and feedback in the comment section below.